
Table of contents
- 1. Create a New Page that will function as a Notion folder
- 2. Write content in the new folder
- 3. Add other pages to the folder
- 4. Publish the folders to your website (Optional)
- 5. Assign icons to the pages in the folder
- 6. Access folders by creating a dashboard
- 7. Share your Notion folder
- FAQs
- How to group pages in notion?
- How do you organize Notion pages?
- How to link a folder in Notion?
- How to upload a folder to Notion?
- Every Notion page serves as a folder. Create a new page to serve as the main folder.
- Add content to the main folder page.
- Create subpages within the main folder.
- Assign icons to pages for easy identification.
- Create a dashboard to organize multiple folders.
- Share your Notion folder with team members or make it public.
Notion blocks are often compared to lego pieces because of the similarity in how they both function. The underlying concept for both is to put the smallest units together to form a larger structure that serves a bigger purpose and makes a better visual impression.
In Notion, blocks combine into a page and pages combine to form a folder. In other words, you can organize your content in a parent-child relationship that helps you establish hierarchy and find your content faster in future. This is a super-useful feature for Notion users because managing content on the platform can become difficult quickly because there is so much of it.
Additionally, by creating folders, you can also control access at the folder level. This means you can share that specific folder and subfolders with a selected audience. The use-cases for creating folders in Notion are many, now let's explore how you can do that efficiently.
Here are the seven steps to creating a folder in Notion:
1. Create a New Page that will function as a Notion folder
Every Notion page is a folder. You can add more pages under it and view them as subfolders in your Notion left pane. To get started, create a new page in Notion or start with an existing page.
Let’s create a folder for a content marketing team. We will create a list of topics that would build authority for an important keyword - say “Social Media Marketing”. Here is what it looks like:

2. Write content in the new folder
The new folder can contain a summary of what the folder and subfolders are about.
Alternatively, if you have a Notion blog, you can turn the folder into a pillar page that includes a mention of all the cluster pages. We will take that approach for our example of the “social media marketing” folder.
As you can see in the below image, we have created a whole blog for the folder titled - “Social Media Marketing”.

All subfolders will come under this parent folder.
3. Add other pages to the folder
We have the parent folder ready now. Let's organize some subfolders under it. To do that, paste all the subfolder names as plain text inside the primary folder first, and turn them into pages.

The above image shows how to do that. We have put together some subfolders for the “Social Media Marketing” folder and turned them into pages.

Notice that the pages are available not just within the folder but also in the left pane. The design of the left pane also suggests a hierarchical structure.
4. Publish the folders to your website (Optional)
You already know that you can make your content on Notion public but did you know that you can make a website with it?
By using Super, you can create aesthetic websites that are optimized for SEO. You can set up navbars and footers, all without having to code!
Super takes your content in Notion and turns it into a website seamlessly. You can organize your folders the same way you do in Notion and establish a hierarchy for your website as well.
Here’s what that looks like in Super:

5. Assign icons to the pages in the folder
Icons do not just make your Notion page look aesthetic but also give identity to your page. They help you establish the general theme of the pages without having to open them.
For example, the below image shows a page from a sample Notion weekly planner.
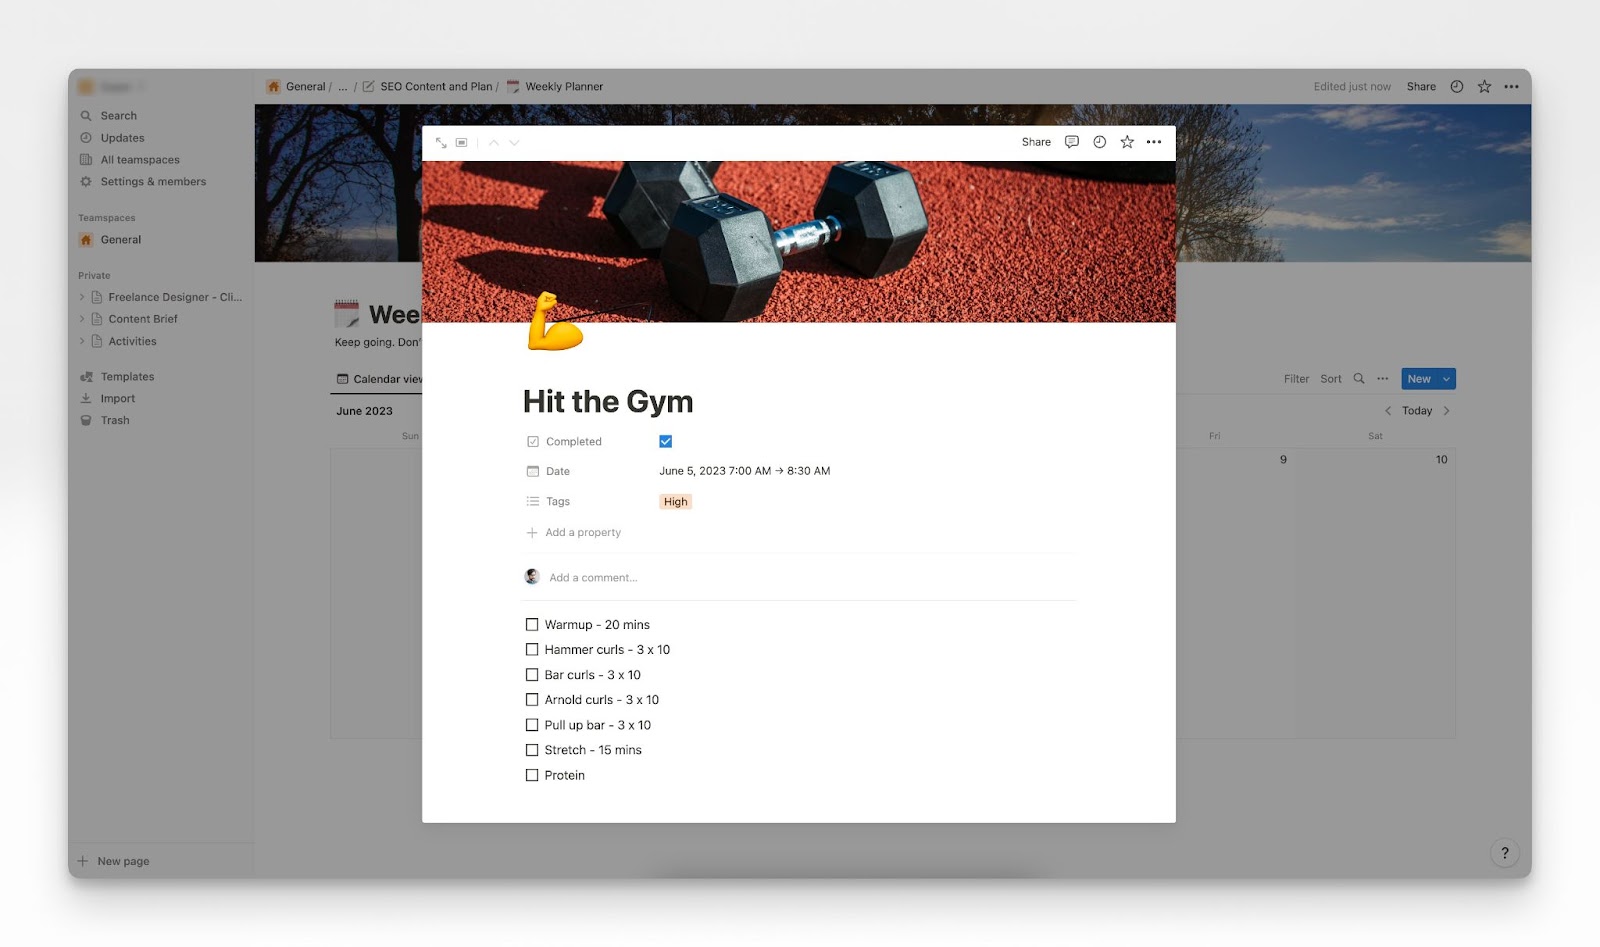
The icon makes it obvious that the page is about fitness and also appears in the left pane of Notion for easy identification.
6. Access folders by creating a dashboard
By now, we have already created a folder and a bunch of subfolders. But what if there are too many folders? For example, we created a folder for “Social Media Marketing” in this article. Now, what if we need more for newsletter marketing, SEO, affiliate marketing, etc.? There would be too many folders. And your Notion will become too cluttered and difficult to navigate.
You can move them all under another parent folder named “Marketing” but that folder would be too long and it would be tough to find the right content in it.
A best alternative, in that scenario, would be to create a Notion dashboard for all marketing efforts. This dashboard can give you and your team a birds eye view of all the top level folders. The users can then click on one of them and find the pages they look for.
For example, this dashboard for an agency captures all the folders that the team might need to access.

7. Share your Notion folder
Alright, now that your dashboard, folders, and sub-folders are all ready, it’s time to share your content with your audience. You can grant access to specific team members or to anyone on the internet.
To do that, click on the “Share” button at the top right corner of your screen.

In this view, you will find options to share content with individuals or teamspaces, or even make your folder public. Anyone who can access a folder can also access the subfolders in it, so you need to be careful while changing the access settings at the folder level.
In this article, we covered seven steps to creating a folder in Notion. We also showed you how you can publish it and generate leads using Super. Now you know how to organize your content into folders and make Notion easier to use.
FAQs
How to group pages in notion?
The easiest way to thematically group Notion pages is by placing them in a folder. In fact, Notion does this automatically - every time you add a subpage inside any main page, Notion creates a folder with the same name as the main page. You can also drag and drop subpages located in different places within the same Notion workspace into a common folder, which is accessible from the left pane of your Notion screen.
How do you organize Notion pages?
The first step in organizing pages is to identify a theme and then group them into a common Notion folder. This way, when you want to find a page that matches the theme, you'll know which folder to check.
How to link a folder in Notion?
If you want to link to a Notion folder in your page, first copy the folder's link from the left pane of your Notion screen. You can do that by hovering over the folder name and then clicking on the “…” icon that appears. Next, click on the “Copy link” option. Finally, paste the link into the relevant page.
How to upload a folder to Notion?
To import a folder into Notion, simply click and drag it from your local drive, and drop in a Notion page. If for some reason, the folder upload is stuck at 0%, create a new folder within Notion as a workaround and drag contents from your local folder and drop them into it.
Get Super’s bi-weekly Notion Newsletter
- Custom design
- SEO options
- Instant page load
