Table of contents
- 1. Create your primary Notion knowledge base page
- 2. Outline desired content categories
- 3. Organize your knowledge base structure
- 4. Enhance content layout using Notion blocks and formatting tools
- 5. Share the main Notion knowledge base page
- 6. Schedule regular backups
- 7. Publish your Notion knowledge base site
- 8. Refine the visual design
A company’s knowledge base is its central hub.
It is where employees and customers go to access key information related to the company’s functions, policies, templates, guidelines, and products or services.
It is essential that the knowledge base is well-organized and easy to navigate while remaining flexible to changes. Furthermore, it must be intuitive, allowing users to quickly find what they’re looking for.
It should also be able to support varied content formats like text, images, videos, etc. and be accessible to users anytime, anywhere.
Notion, as a knowledge base tool, checks all the boxes.
This guide covers the stepwise process of using Notion as a knowledge base. We dive into the intricate details of each step and explore how you can make the best use of Notion’s capabilities for your knowledge base. With the support of relevant images, we will create the knowledge base for a fictional company called Loopocode.
Here’s how to use Notion as a knowledge base:
1. Create your primary Notion knowledge base page
You can create the knowledge base on an existing page, but it’s advised to create it on a new Notion page. This page acts as the homepage of the knowledge base. It contains links to all subpages for different organizational functions. We will categorize it into sections to meet the different requirements of its users.

2. Outline desired content categories
Each company's knowledge base looks different, based on what they want to highlight. For Loopocode, we will create the following subsections:
1. Company updates
2. Core company information
3. Leadership insights
4. Department-specific custom wiki
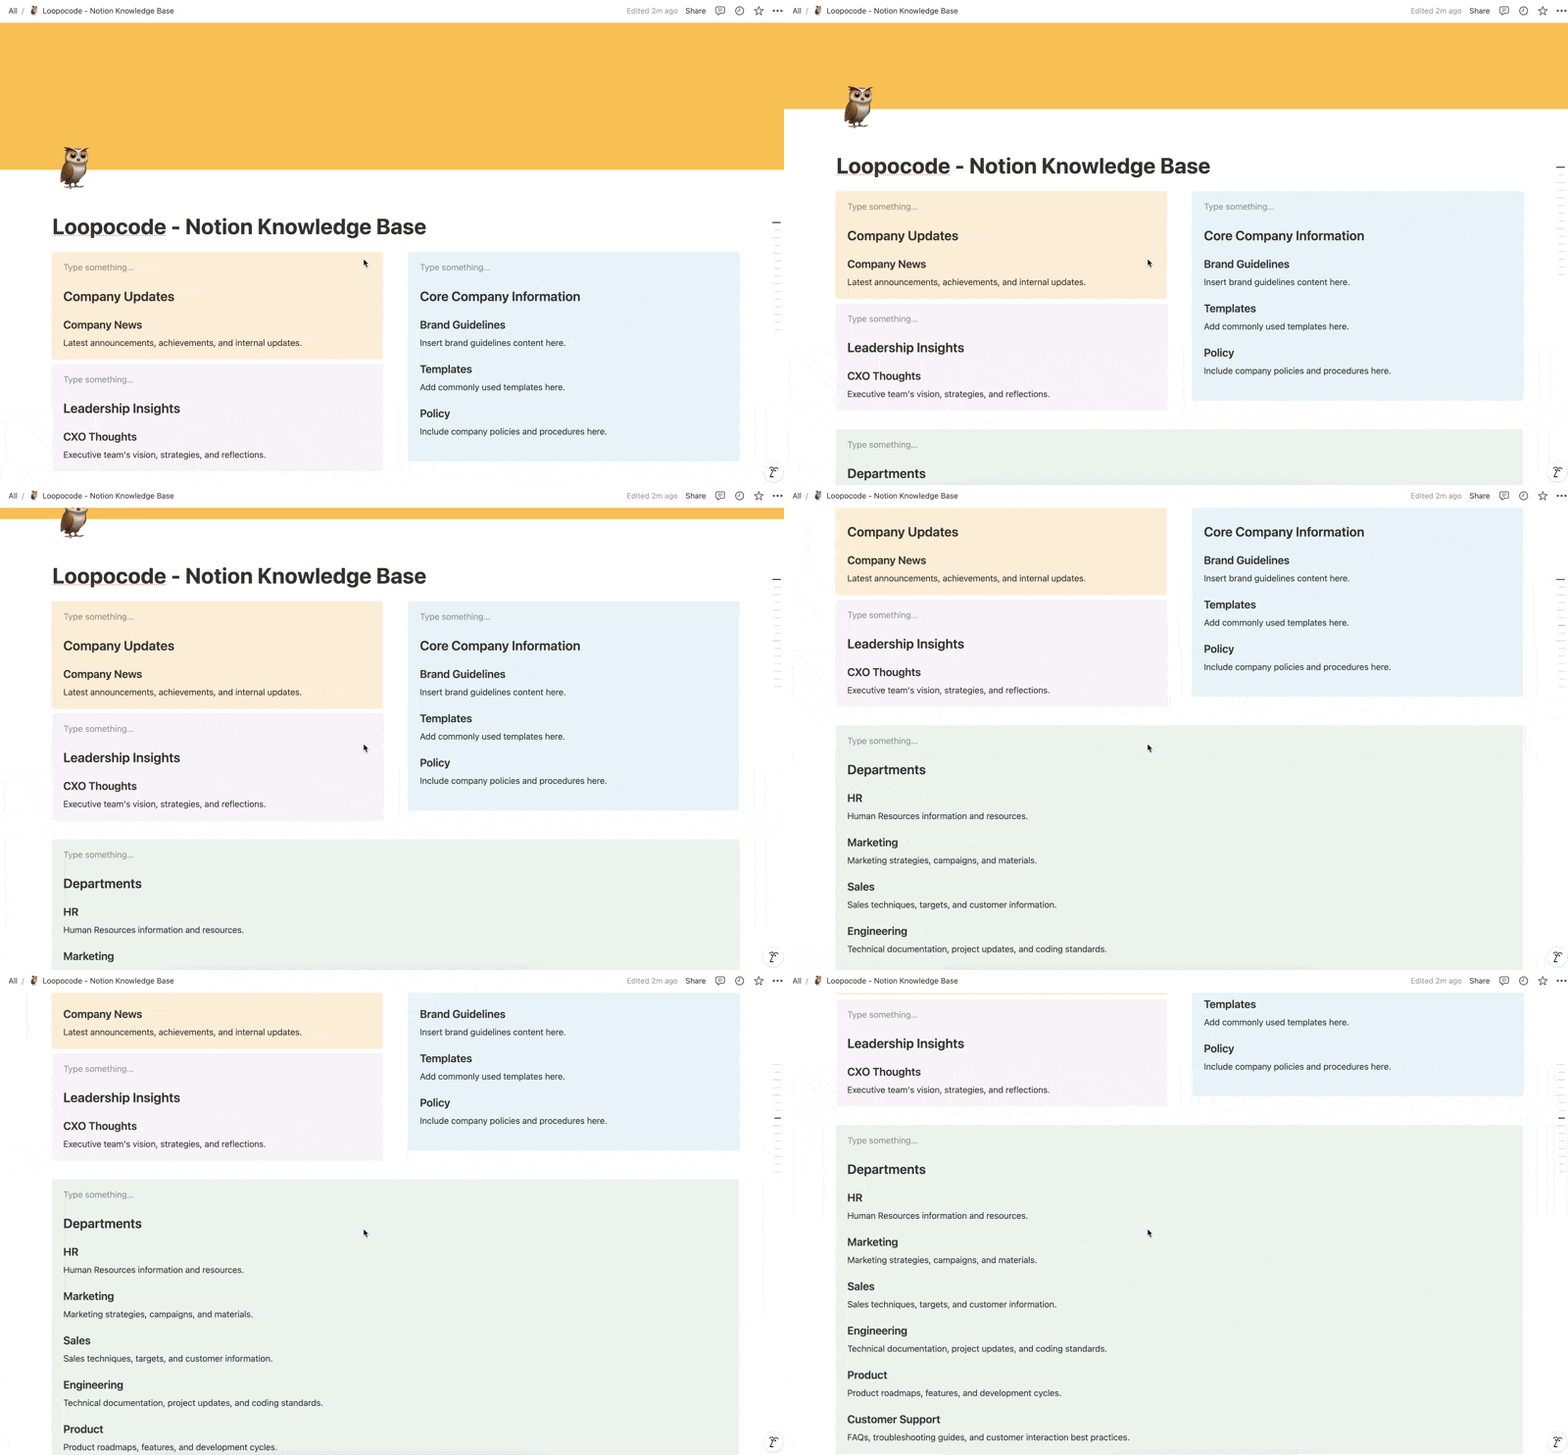
We have arranged these sections into callout blocks of different colors to visually separate them for ease of reading.
Here’s what Loopocode’s knowledge base looks like with different sections and placeholders.

3. Organize your knowledge base structure
With the outline ready, let’s pack each section with subpages containing information that users seek.
For example, the ‘Company Updates’ section has ‘News’, ‘Awards’, and ‘Quarterly Results’ subsections. Each of these must have subpages to cover the theme in depth.
The ‘Quarterly Results’ section, for example, could contain these subpages:
- Financial Overview
- Key Performance Indicators (KPIs)
- Major Wins/Losses
- Future Projections & Plans
This would give readers a breakdown of the quarterly results.
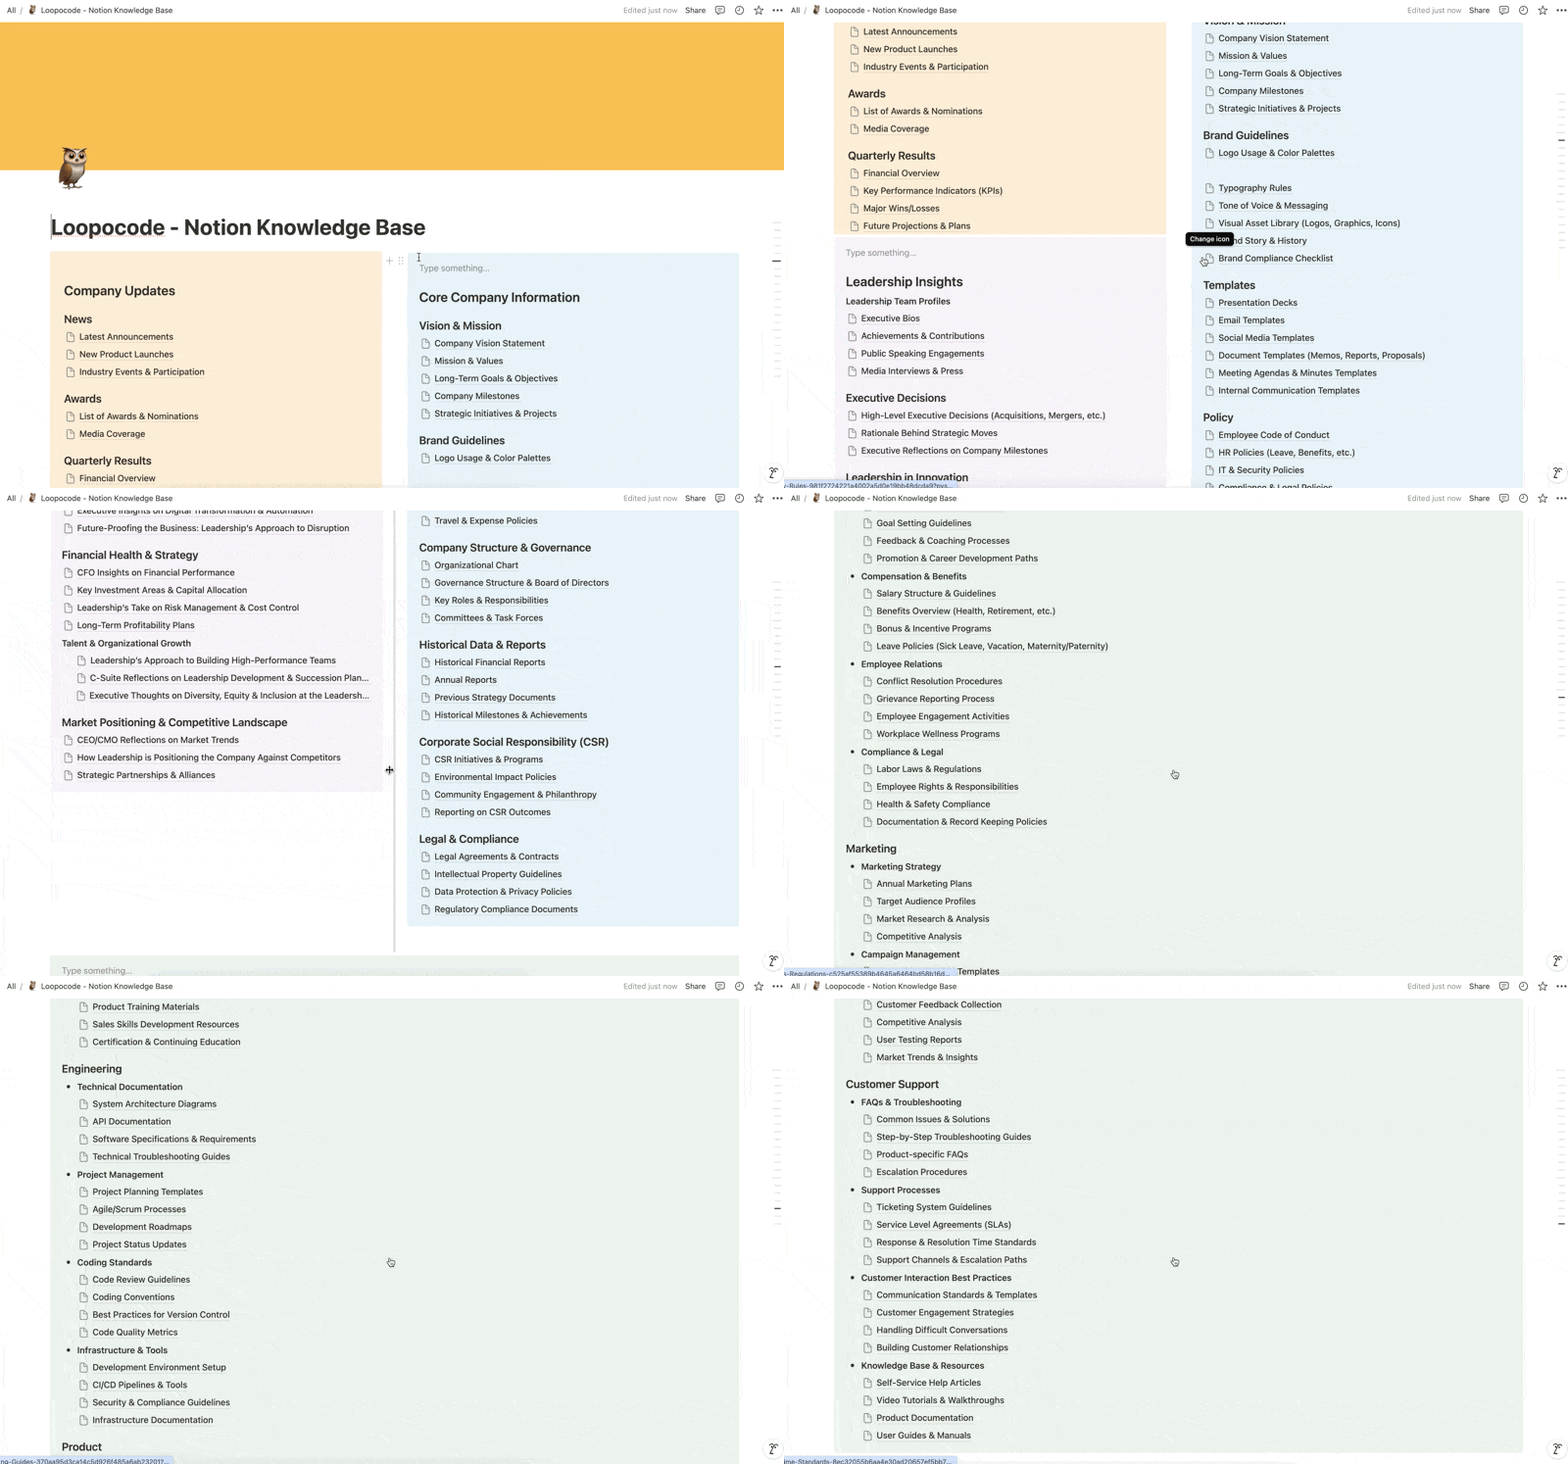
Here’s what the knowledge base looks like with all subpages for all sections in place.

Phew! That’s a lot of pages. Having them all visible on the page makes for a poor user experience.
Let’s fix that in the next step.
4. Enhance content layout using Notion blocks and formatting tools
To make it easily accessible, we will add a Table of Contents section at the top of the page.
Furthermore, we will enclose the subpages in header toggle blocks.
Add a table of contents by typing ‘/toc’ and selecting the ‘Table of contents’ block, displayed by Notion.
This will enlist all header tags on the page with jump links to relevant sections.
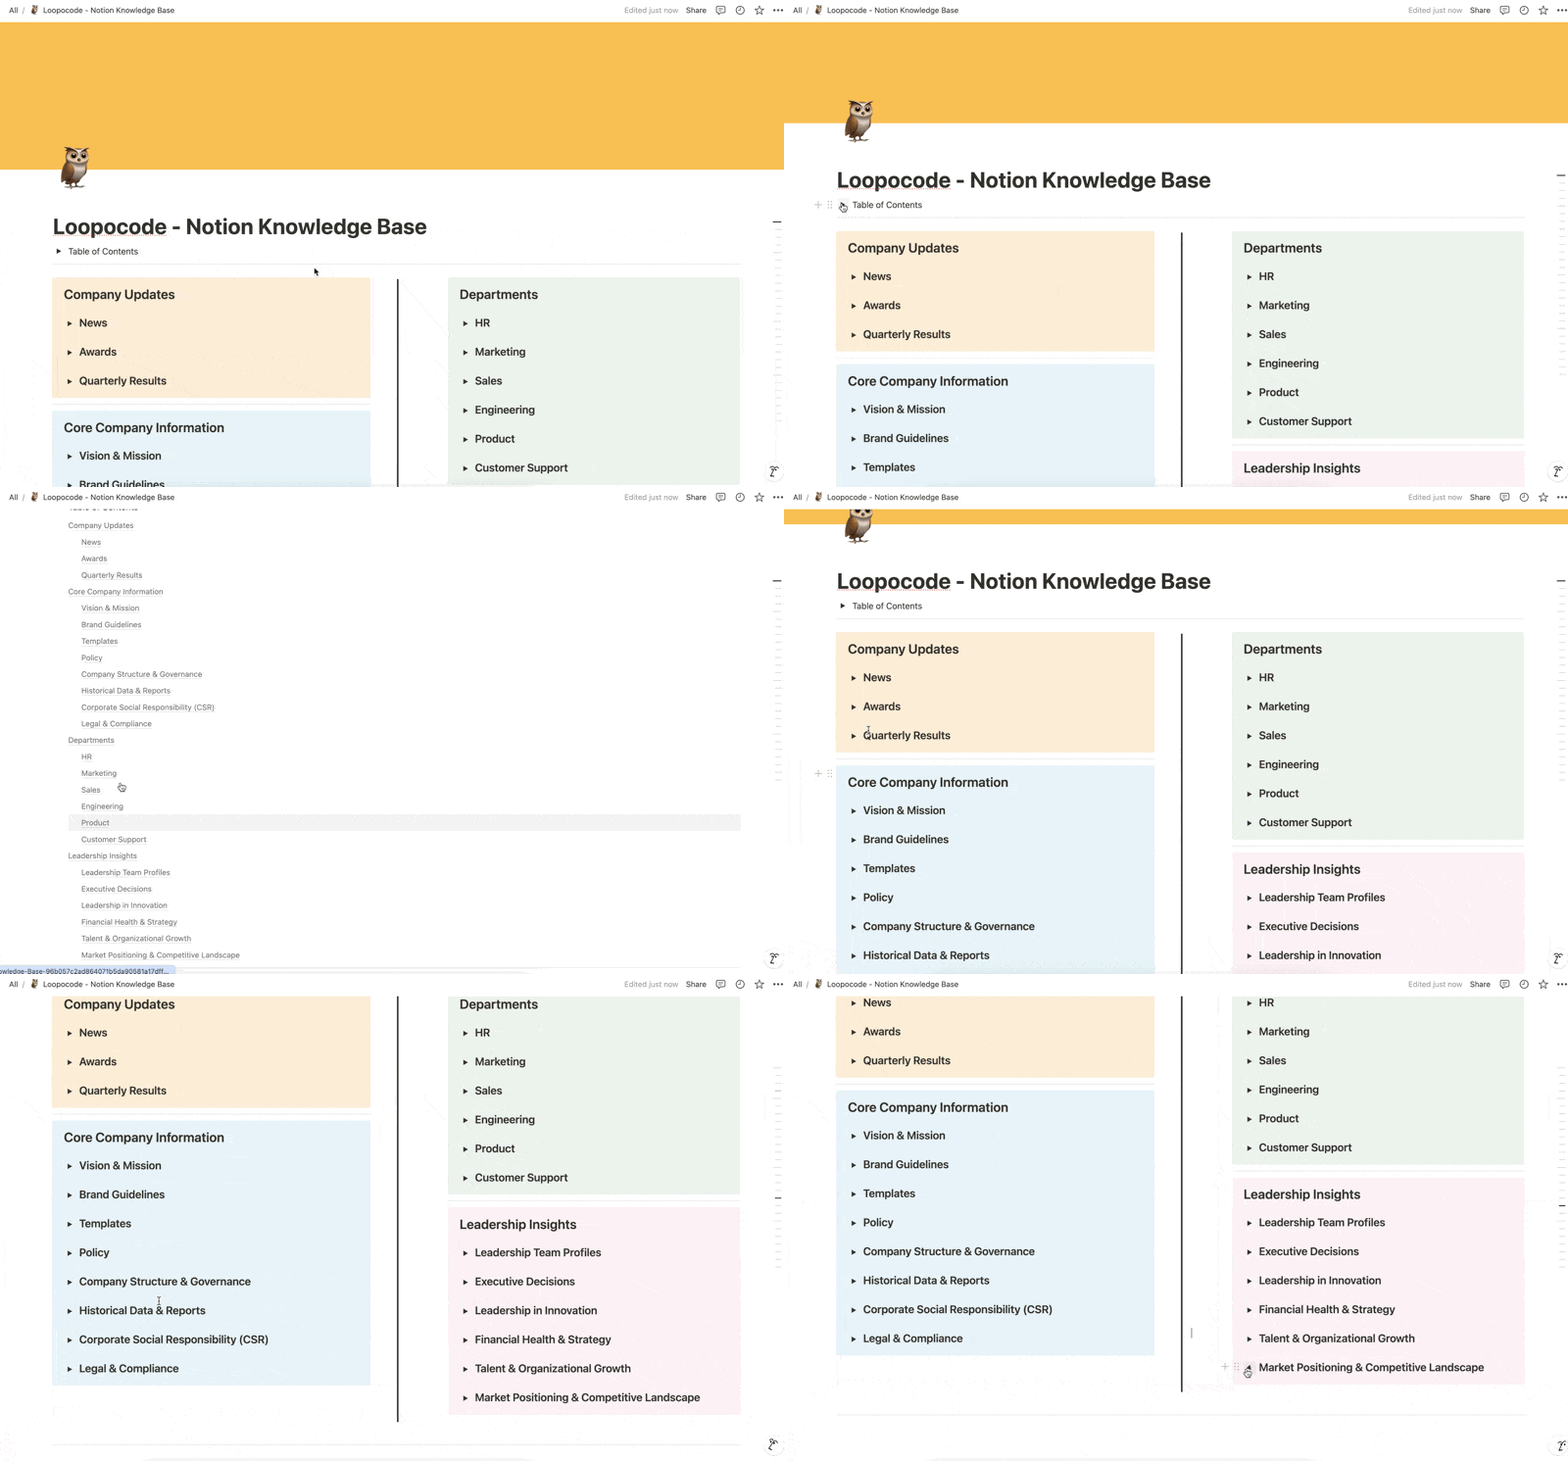
We also added vertical and horizontal dividers to give each section its own space.
Additionally, we reordered the sections to make both columns occupy equal vertical space.
Here’s what our knowledge base looks like now.

We can customize the knowledge base dashboard further. For example, we can move the subpages under ‘Departments’ to different pages and add links to them on the main page.
But for now, we will stick with the latest version of the page and move on to the next steps.
5. Share the main Notion knowledge base page
Now that the knowledge base is ready, let’s share it with the right people.
If you already have everyone who needs access within your workspace, make sure you move the knowledge base page into an existing Notion folder that the whole team can access.
If you want to share it with people outside your workspace, click on ‘Share’ at the top-right of your screen and type their email address. It also works for group email addresses.

After entering the email addresses, click on the ‘Full access’ dropdown next to the ‘Invite’ button. Users can be granted full access if you want. This will allow them to share, edit, comment, and view the page. Alternatively, they can have access only to view, edit, or comment.

In most cases, organizations only grant ‘View’ access to employees and customers because the edit access is reserved only for the employees who maintain the knowledge base.
After you have added all email addresses and set individual access levels, click on the ‘Invite’ button to send emails to everyone, notifying them about accessing the page.
6. Schedule regular backups
With everyone in your workspace having access to the knowledge base, it is sure to grow and find new use-cases.
With Notion becoming your team’s central hub, it is essential to back up Notion regularly to ensure that the content in the knowledge base is not lost if Notion is inaccessible for any reason.
Set up a backup schedule, ideally on a monthly basis.
7. Publish your Notion knowledge base site
If the knowledge base is meant to be consumed by users outside your organization, consider publishing it as a website.
Click on ‘Share’ at the top-right of your screen and then on ‘Publish’. Finally, click on the ‘Publish’ button to make the page available to anyone with the link.

You only get limited website capabilities with the paid Notion Sites plan. To truly make your site user-friendly through custom domain, navbar, code, color, and fonts, you need to connect your knowledge base with Super. You get many additional features at a lower price than Notion Sites. For example, you can password protect your knowledge base to add another layer of protection. Furthermore, Super sites stay up even when Notion is down, providing better uptime.

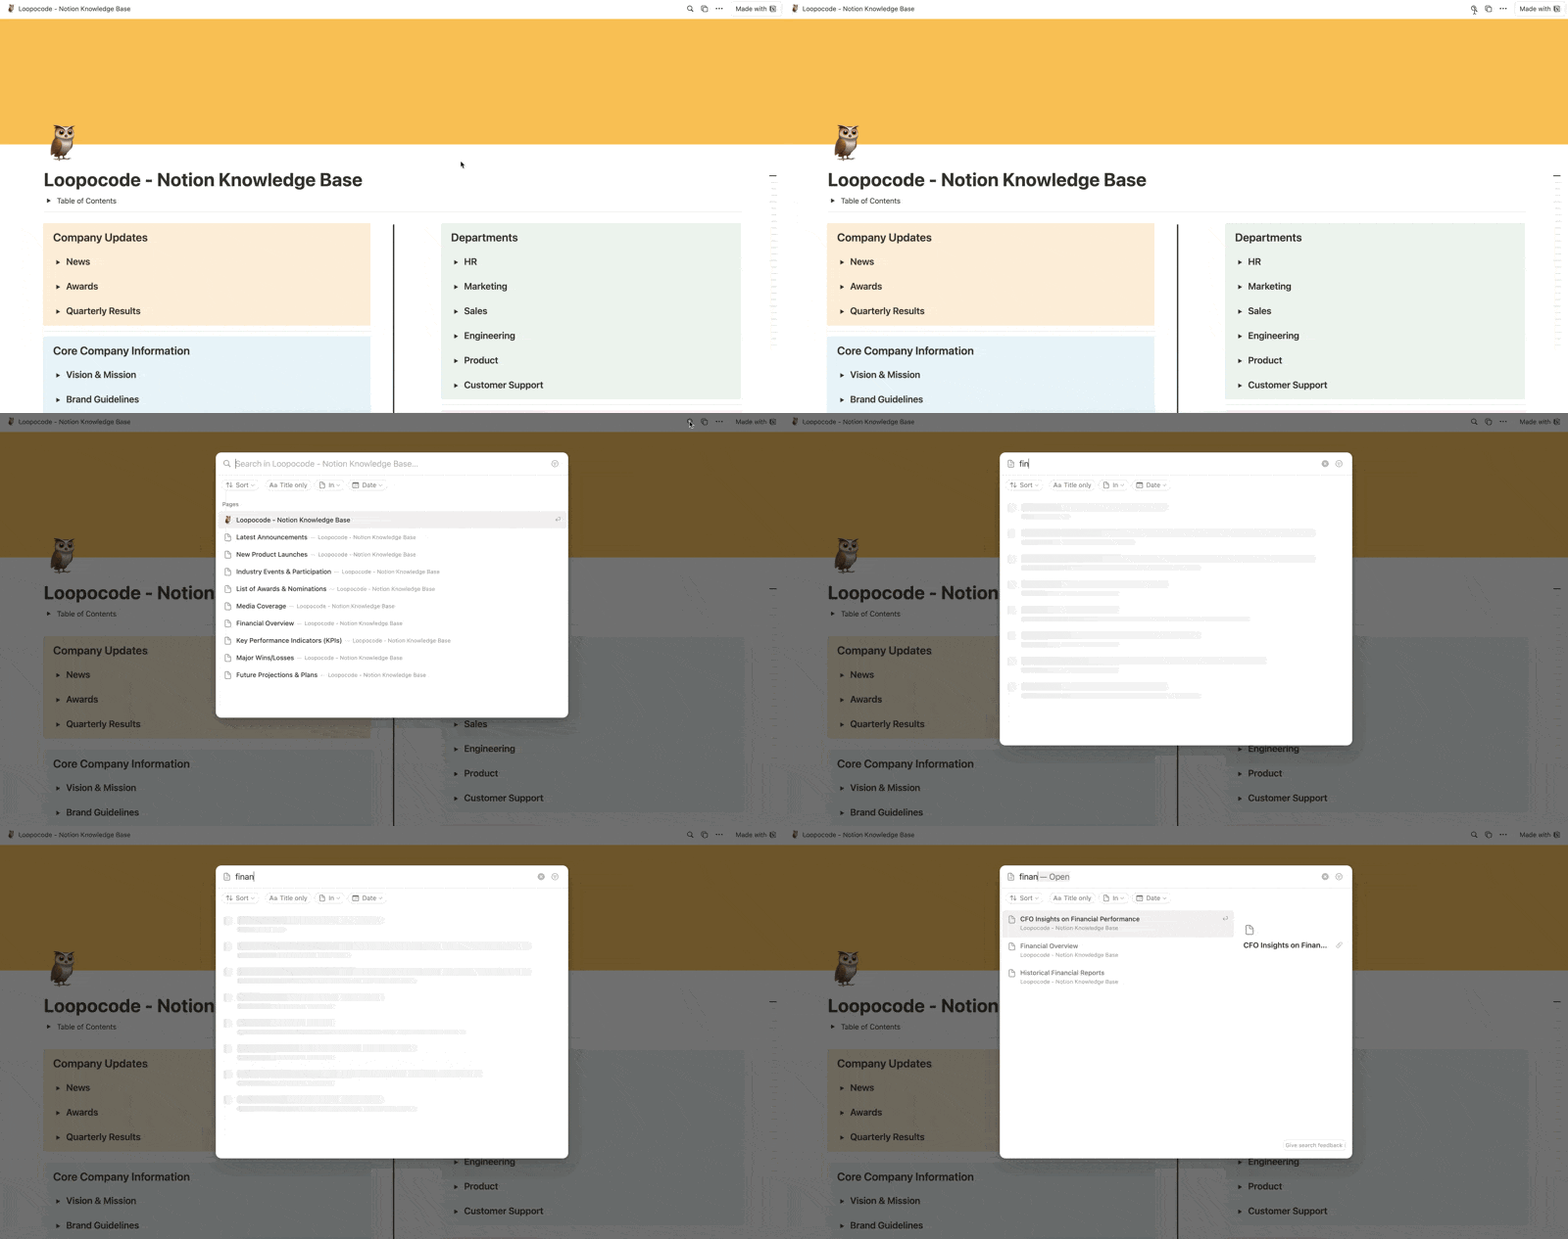
Users who land on the public knowledge base page will be able to search for content using the Notion search icon available at the top-right of their screen.

The Notion duplicate icon is also available, allowing users to duplicate the knowledge base into their private workspace and edit it. To remove the icon, you would need to subscribe to a paid Notion plan to enable editing the navbar or use a free Super plan that supports customizing navigation bar.
8. Refine the visual design
By connecting your Notion knowledge base with Super, you open the doors for custom design and branding.
Here’s what the knowledge base looks like on Super.

The above screenshot also gives a glimpse of Super’s design dashboard view.
Let’s change font styles and background color to transform the knowledge base into something super.

The font is different, colors pop-out better, providing contrast, and all native blocks work as they should. You also get a custom navigation bar and footer.
- Custom design
- SEO options
- Instant page load
